Configure Visual Studio Code to compile and run C/C++
Some time ago a friend of mine asked me to recommend her an IDE to compile and run C and C++ code because she was tired of using XCode, and I don’t blame her, Xcode is like killing a fly with a cannon if you only need to do simple things.
As a regular user of VSC, that was the first thing it came to my mind, but then I remembered that VSC is not an IDE per se, but a Code Editor that uses extensions to behave like an IDE, I also remembered that I had a lot of time without coding on those languages and when I did, I used notepad++ and the terminal.
My objective then, and the topic of this post, discover how to configure VSC to behave like a C/C++ IDE.
Disclaimer: This post is based on macOS, but since VSC is available in others OSs it shouldn’t be much different the steps here mentioned.
First of all, we need to download and install Visual Studio Code of course.
How I said at the beginning of the post, VSC uses extensions to behave like an IDE, so the next step is to install the extensions that will help us with our purpose.
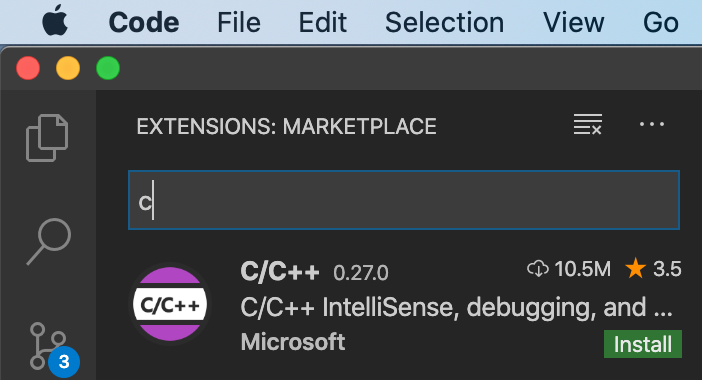
The first useful extension we are gonna need is called C/C++, this extension will help us with the Intellisense like code completion, parameter info, quick info, etc. We can install it from here, when clicking install, it will open VSC and install it automatically. Or we can open VSC, go to Code > Preferences > Extensions (also using the shortcut shift + cmd + X) type C++ and press install.
The next extension is to actually compile and run our code, I picked Code Runner, we can download it from here, or follow the same process as the previous one.
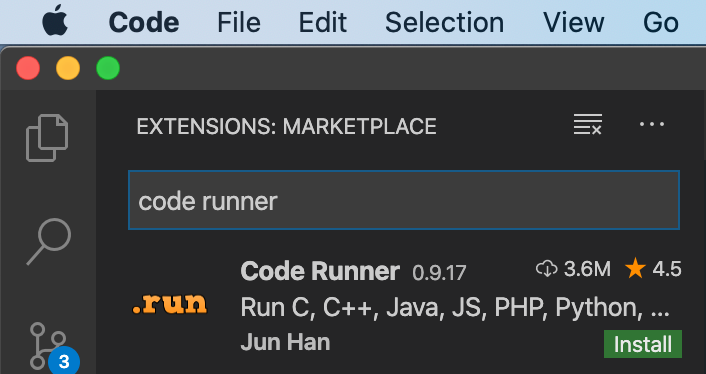
What this extension does is to run a terminal command using a compiler installed in our computer, in the case of macOS uses gcc which is already installed, but in case you don’t have it you will need to install the Command Line Tools for Xcode.
After we have installed these two extensions we are ready to give it a try. Let’s write a simple Hello World.
#include <iostream>
using namespace std;
int main()
{
    cout << "Hello world!";
    return 0;
}
To run this code, we have three options:
- Using
cmd+alt+n. - Using
fn+F1and type run code. - Right-click on the editor and select Run Code.

Any of these options will show the result in the OUTPUT tab in the bottom part of VSC.

You can see in the image above the exact command is being executed in order to compile and run our code.
Until here everything seems fine, but since the OUTPUT tab is read-only, we cannot interact with our code if we need to. To be able to do so, we need to tell the extension Code Runner to run our program in the TERMINAL instead of the OUTPUT tab following the next steps:
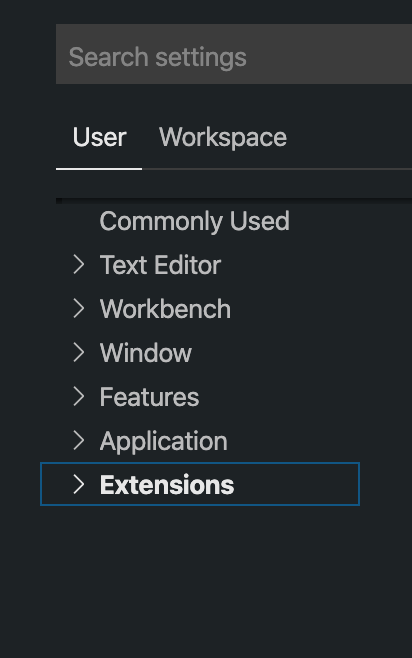
- Go to the menu Code > Preferences > Settings.
- In the User tab on the left panel, expand the
Extensionssection. - Find and select
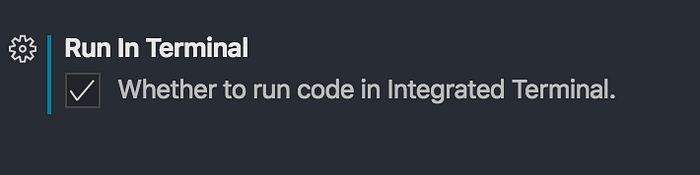
Run Code Configuration. - Find and check the box
Run in Terminal.
Now our program will run in the TERMINAL tab and we will be able to enter data if we need to.
And that’s it, following these steps you will be able to compile and run code in C/C++ using Visual Studio Code.
